
Decadent No-Bake Oreo Cheesecake Cups Recipe
Introduction
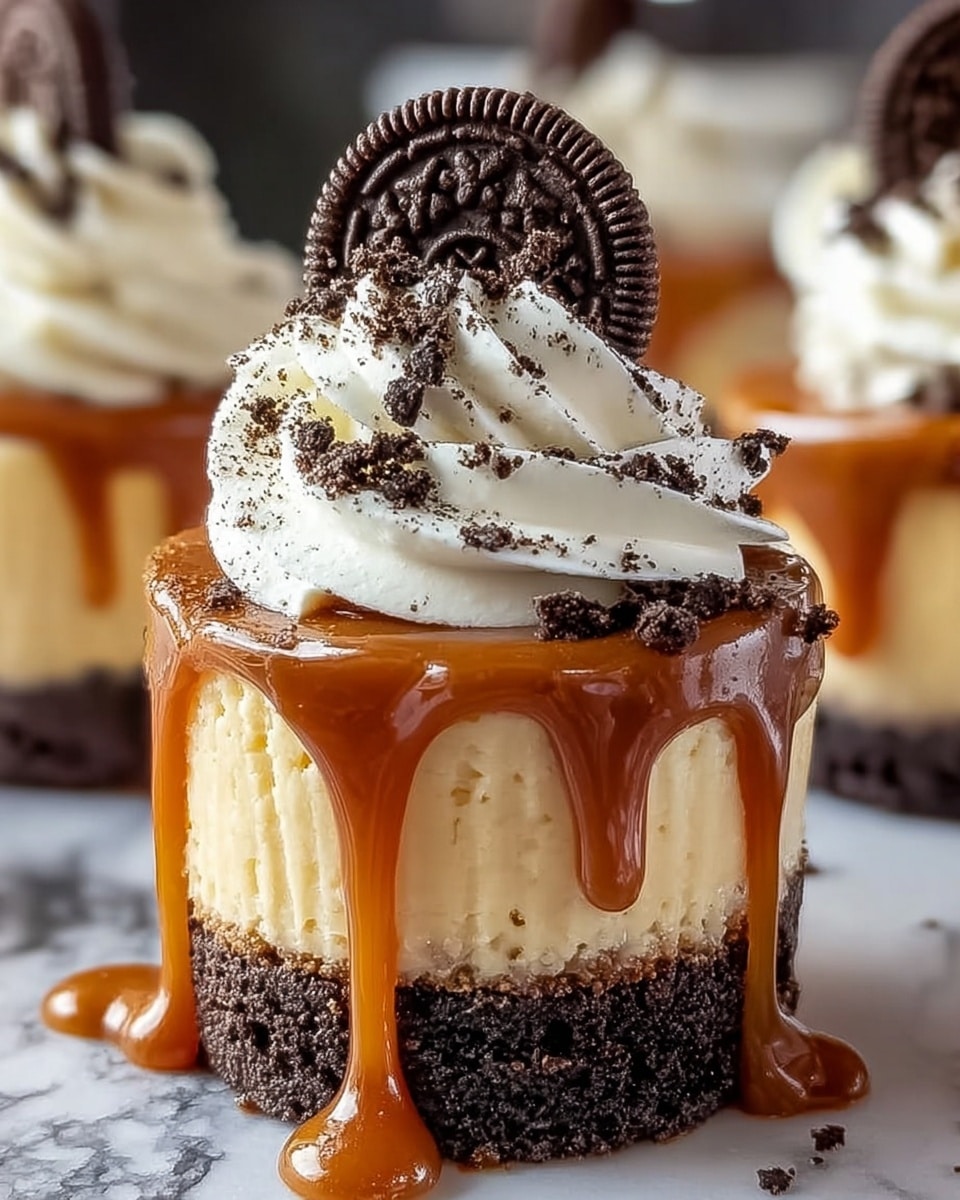
These Decadent No-Bake Oreo Cheesecake Cups are a simple yet indulgent dessert perfect for any occasion. Creamy cheesecake filling layered over a crunchy Oreo crust makes for a delightful treat that requires no oven time. Ready in just a few steps and chilled to perfection, they’re sure to impress.

Ingredients
- 24 Oreo cookies (divided)
- 4 tablespoons unsalted butter (melted)
- 16 oz cream cheese (softened)
- 1/2 cup granulated sugar
- 1 teaspoon vanilla extract
- 1 cup heavy whipping cream
- 2 tablespoons powdered sugar
- Additional crushed Oreos for topping
Instructions
- Step 1: In a food processor, crush 16 Oreo cookies into fine crumbs. Mix the crumbs with melted butter until evenly combined.
- Step 2: Divide the Oreo crumb mixture evenly among 6 small cups or jars, pressing firmly to form a compact crust layer at the bottom.
- Step 3: In a mixing bowl, beat the softened cream cheese, granulated sugar, and vanilla extract together until smooth and creamy.
- Step 4: In a separate bowl, whip the heavy whipping cream and powdered sugar until stiff peaks form.
- Step 5: Gently fold the whipped cream into the cream cheese mixture until fully combined and smooth.
- Step 6: Spoon the cheesecake filling over the Oreo crust in each cup, smoothing the tops with a spatula.
- Step 7: Crush the remaining 8 Oreo cookies and sprinkle them on top of each cheesecake cup.
- Step 8: Cover the cups with plastic wrap and refrigerate for at least 4 hours, allowing the cheesecake to set properly.
- Step 9: Once chilled, serve the cups as is or garnish with additional whipped cream and Oreo crumbles. Enjoy your no-bake dessert!
Tips & Variations
- For an extra rich flavor, try adding a tablespoon of cream cheese to the crust mix before pressing it into the cups.
- Substitute regular Oreos with flavored ones like mint or peanut butter for a different twist.
- If you don’t have a food processor, place the cookies in a sealed bag and crush them with a rolling pin.
- Use mini jars or clear cups to create elegant individual servings perfect for parties.
Storage
Store the cheesecake cups covered in the refrigerator for up to 3 days. For best texture and flavor, consume within this time. When ready to eat, no reheating is needed—just enjoy them cold and creamy.
How to Serve
Serve this delicious recipe with your favorite sides.
FAQs
Can I make these cheesecake cups ahead of time?
Yes, you can prepare the cheesecake cups up to a day in advance and keep them refrigerated. This allows the flavors to meld and the texture to firm up nicely.
Can I freeze the Oreo cheesecake cups?
While freezing is possible, it may affect the texture of the whipped cream and crust. If you freeze them, thaw in the refrigerator overnight before serving and expect a slightly softer texture.
Print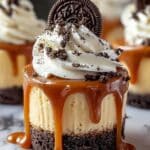
Decadent No-Bake Oreo Cheesecake Cups Recipe
- Total Time: 4 hours 20 minutes
- Yield: 6 servings 1x
Description
Delight in these Decadent No-Bake Oreo Cheesecake Cups featuring a rich Oreo crust layered with smooth, creamy cheesecake filling and topped with crushed Oreo pieces. Perfect for a quick and indulgent dessert without the need for baking.
Ingredients
Oreo Crust
- 16 Oreo cookies (crushed)
- 4 tablespoons unsalted butter (melted)
Cheesecake Filling
- 16 oz cream cheese (softened)
- 1/2 cup granulated sugar
- 1 teaspoon vanilla extract
Whipped Cream Topping
- 1 cup heavy whipping cream
- 2 tablespoons powdered sugar
Garnish
- 8 Oreo cookies (crushed for topping)
Instructions
- Prepare Oreo Crust: Using a food processor, crush 16 Oreo cookies into fine crumbs. Combine the crumbs with melted unsalted butter and mix thoroughly. Distribute the mixture evenly into 6 small cups or jars, pressing down firmly to form an even, compact layer at the bottom.
- Make Cheesecake Filling: In a mixing bowl, beat the softened cream cheese, granulated sugar, and vanilla extract together until the mixture is smooth and creamy. Set aside this creamy base.
- Whip the Cream: In a separate clean bowl, whip the heavy whipping cream and powdered sugar until stiff peaks form, indicating the cream holds its shape firmly. Carefully fold this whipped cream into the cream cheese mixture until fully incorporated and silky smooth.
- Layer the Filling: Spoon the cheesecake filling over the prepared Oreo crust layer in each cup, smoothing the surface with a spatula to create a neat finish.
- Add Cookies: Crush the remaining 8 Oreo cookies and sprinkle them generously over the top layer of cheesecake filling for added texture and flavor.
- Chill: Cover the cups tightly with plastic wrap and refrigerate for at least 4 hours, allowing the cheesecake to set properly and the flavors to meld.
- Serve: Remove the cups from the refrigerator. Optional garnishes such as extra whipped cream or more crushed Oreo crumbles can be added before serving. Enjoy this rich no-bake Oreo cheesecake treat!
Notes
- Ensure the cream cheese is fully softened to avoid lumps in the cheesecake filling.
- Press the Oreo crust firmly to ensure it holds together well when eating.
- Chilling for at least 4 hours is crucial for best texture and flavor.
- Can be stored covered in the fridge for up to 3 days.
- To make it gluten-free, substitute Oreo cookies with gluten-free chocolate sandwich cookies.
- Prep Time: 20 minutes
- Cook Time: 0 minutes
- Category: Dessert
- Method: No-Cook
- Cuisine: American
Keywords: No-Bake Oreo Cheesecake Cups, Oreo dessert, easy cheesecake recipe, no-bake dessert, Oreo crust cheesecake, creamy cheesecake cups, quick dessert

